
Set Up CrowdSec with Nginx on a Self-Hosted VPS
Add practical abuse detection to an Nginx-backed VPS with CrowdSec, wire in the Nginx bouncer, and verify how decisions are made before you trust it to protect production traffic.
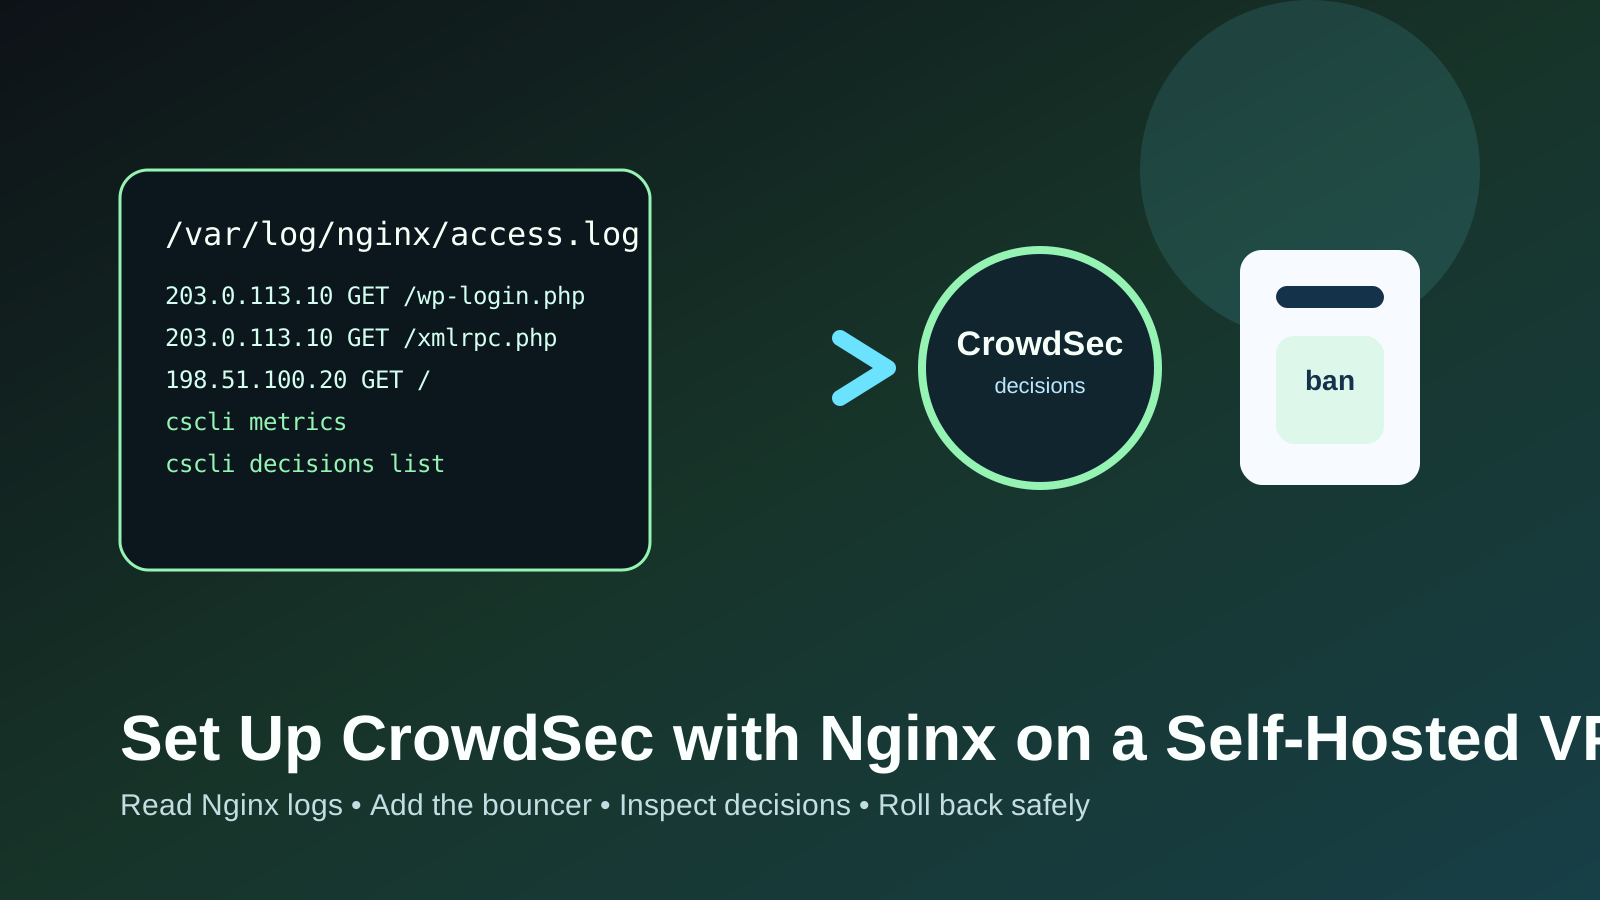
How to install CrowdSec, let it parse Nginx logs, add the Nginx bouncer, inspect decisions, and handle false positives safely.
Public web services behind Nginx where you want more than a static firewall and you care about understanding what is actually being blocked.
A sloppy deployment can block real users or break log ingestion, leaving you with loud protection claims and very little real signal.
Before you begin
- An Ubuntu or Debian VPS with Nginx already serving public traffic.
- Working access to
/var/log/nginx/access.logand/var/log/nginx/error.log. - A way to test from another machine or network, not only from localhost.
- A recent backup or at least a known-good Nginx config you can restore quickly.
CrowdSec's own Linux install guide is explicit about architecture: install the Security Engine first for detection, then add a remediation component for blocking. Their docs also recommend using the Nginx bouncer for web-facing Nginx services instead of treating a firewall bouncer as the only protection layer.
Step 1: Understand where CrowdSec fits
CrowdSec is not a replacement for every other control on the box:
- UFW or your host firewall still controls port exposure.
- Fail2ban may still be useful for simple host-level patterns like SSH abuse if that is already working well for you.
- CrowdSec adds log-driven detection and bouncer-based enforcement, which is especially useful for public HTTP traffic.
For an Nginx-backed service, the cleanest mental model is: keep the basic firewall, keep Nginx logs healthy, then let CrowdSec read those logs and hand decisions to the Nginx bouncer.
Step 2: Install the CrowdSec engine
Use CrowdSec's repository bootstrap script, then install the engine:
curl -s https://install.crowdsec.net | sudo sh
sudo apt update
sudo apt install -y crowdsec
The install guide notes that on Debian or Ubuntu, apt install crowdsec is the standard package path once the repository is added.
On a box where Nginx is already present, the install output should usually detect and start collecting the relevant Nginx log files automatically.
Check service health immediately:
sudo systemctl status crowdsec --no-pager
sudo cscli metrics
If the metrics output is empty or the service is failing, stop here and fix ingestion before you install the bouncer. Detection comes first.
Step 3: Install the Nginx bouncer
Install the Nginx remediation component:
sudo apt install -y crowdsec-nginx-bouncer
sudo systemctl restart nginx
CrowdSec's Nginx guidance says the bouncer can work in live or stream mode and supports ban or captcha remediation. On a typical same-host deployment, the package install handles the initial local API key wiring automatically.
If you are protecting a public web app, CrowdSec also recommends enabling the AppSec component after the bouncer is working. Treat that as a second phase once the base detection and remediation path is proven stable.
Step 4: Verify log collection and decisions
Confirm CrowdSec is reading the expected data:
sudo cscli metrics
sudo cscli acquisitions list
sudo journalctl -u crowdsec -n 50 --no-pager
Then inspect the current decision state:
sudo cscli decisions list
sudo cscli alerts list
Healthy output here matters more than “package installed successfully.” If Nginx logs are not being parsed, there is nothing meaningful for the bouncer to enforce.
Step 5: Test bans and handle false positives
Test from another machine or network path so you do not confuse local bypass behavior with the real client path. CrowdSec's own reverse-proxy guide uses a disposable test request to prove the detection path is alive.
During testing, keep these commands ready:
sudo cscli decisions list
sudo cscli alerts inspect <alert-id>
sudo cscli decisions delete --ip 203.0.113.10
If a legitimate IP is caught, inspect why it matched before you blindly disable CrowdSec. False positives usually reveal either a too-broad scenario or unusual app behavior that deserves to be understood.
Rollback and safety notes
If the bouncer causes trouble during rollout, the clean rollback is to disable or remove the Nginx bouncer first while leaving the CrowdSec engine installed for observation.
sudo systemctl stop nginx
sudo apt remove crowdsec-nginx-bouncer
sudo nginx -t
sudo systemctl start nginx
That keeps your detection data around while removing the enforcement layer that is actively affecting traffic.
Troubleshooting
CrowdSec installs but shows no useful metrics.
Check that the expected Nginx logs exist, that Nginx is actually writing to them, and that CrowdSec acquisitions include those files.
Nginx fails after installing the bouncer.
Run sudo nginx -t and inspect the generated bouncer config before restarting again.
Users are getting blocked incorrectly.
Inspect the matching alert, remove the decision, and tune or disable the offending scenario instead of treating all bans as automatically correct.
You only installed the firewall bouncer.
For a web app behind Nginx, add the Nginx bouncer too. CrowdSec explicitly recommends a WAF-capable bouncer for web-facing reverse proxies.