
Install OpenClaw Locally on Ubuntu or Debian
Get OpenClaw running on a local Linux machine with the official installer, a verified Gateway, and a private-by-default dashboard path before you think about remote exposure.
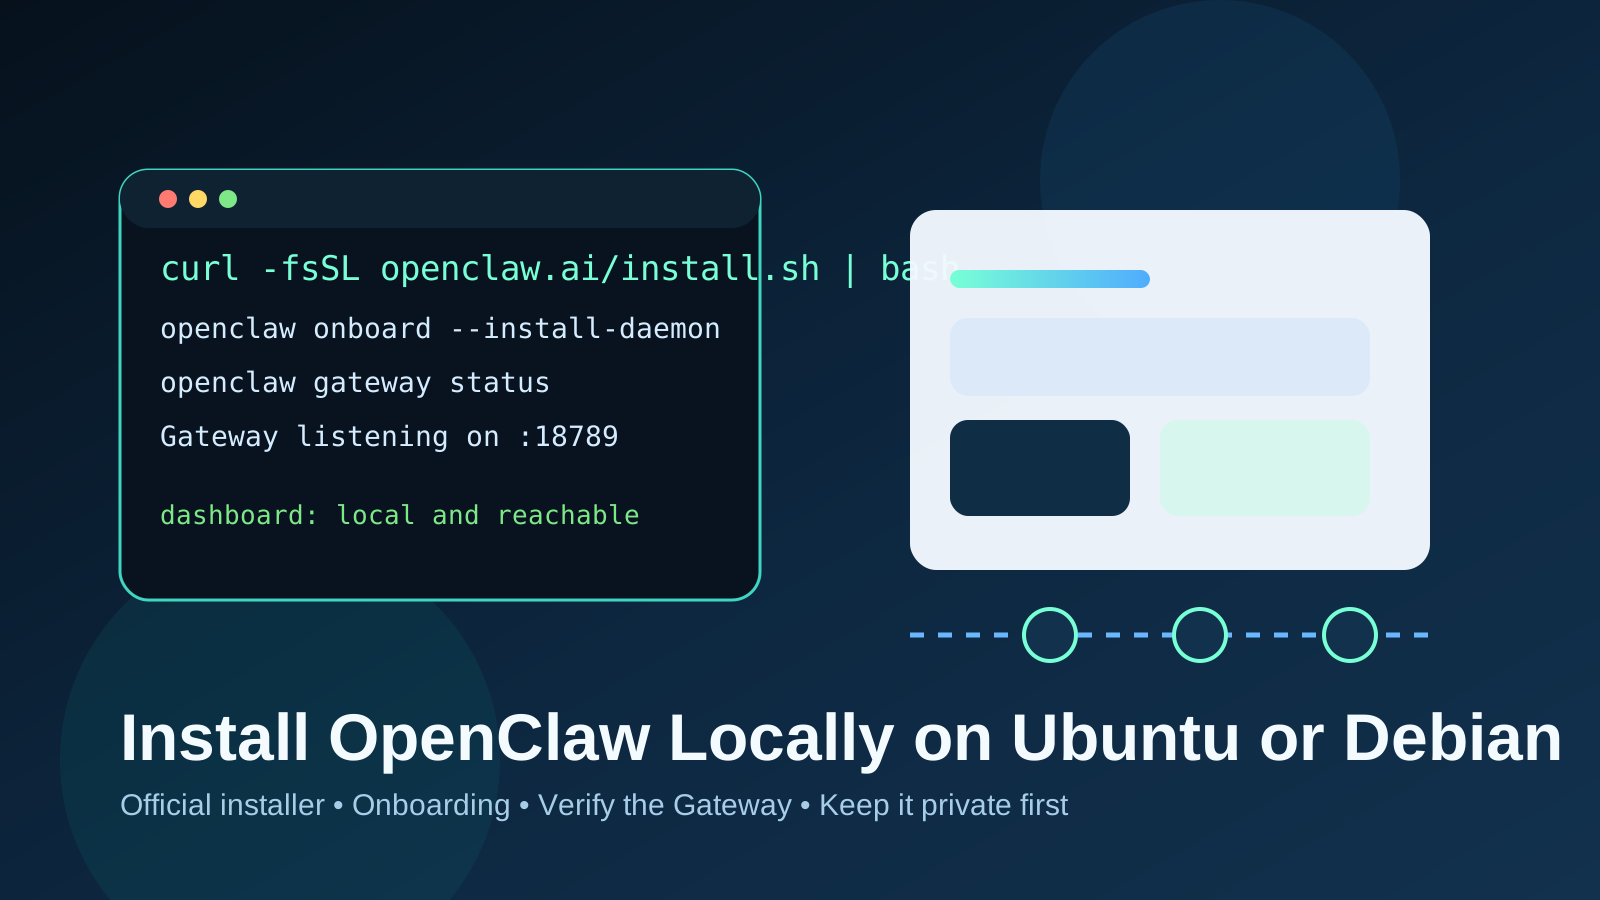
How to install OpenClaw, run onboarding, verify the Gateway, open the dashboard, and keep the install easy to maintain.
Personal machines, private lab boxes, and first-time OpenClaw operators who want a local baseline before any VPS deployment.
The biggest mistake is treating a successful install as permission to expose the dashboard publicly before you have an intentional access design.
Before you begin
- An Ubuntu or Debian machine where you can install software and run user-level commands.
- An internet connection for the installer and package downloads.
- An API key from a model provider you intend to use during onboarding.
- A local-only mindset for the first run. Treat public exposure as a later, separate decision.
OpenClaw's current install docs describe Node.js 22.19+, 23.11+, or 24+ as supported, with Node 24 as the
default target. The hosted installer handles Node setup automatically on supported systems, which is why it is the cleanest first path unless you
already manage Node yourself on purpose.
Step 1: Confirm the local assumptions first
Check the machine basics before you install anything:
uname -a
cat /etc/os-release
node --version || true
curl --version
It is fine if Node is missing. The official installer can handle that. What matters more is knowing whether you are on Ubuntu or Debian, whether
you already have a custom Node setup that you do not want overwritten, and whether curl works.
Step 2: Run the official installer
For a standard local install on Linux, use the hosted installer:
curl -fsSL https://openclaw.ai/install.sh | bashIf you want to install first and postpone the setup wizard, OpenClaw's docs also support a no-onboard path:
curl -fsSL https://openclaw.ai/install.sh | bash -s -- --no-onboardLet the installer finish completely before you open a second shell or start debugging. Interrupting a first install halfway through is how you turn a simple setup into a cleanup exercise.
Step 3: Complete onboarding on purpose
If you used the standard installer, onboarding usually launches automatically. If not, run it explicitly:
openclaw onboard --install-daemonThe onboarding flow should guide you through:
- choosing a model provider
- adding the provider credential
- installing the Gateway daemon
- basic local setup choices for the Control UI
Keep the first configuration simple. The goal is to reach a working baseline, not to exhaust every optional integration in one pass. You can return
later with openclaw configure when the base install is stable.
Step 4: Verify the Gateway and dashboard
After onboarding, confirm the service is actually up:
openclaw gateway status
The current getting-started docs say you should see the Gateway listening on port 18789. Then open the dashboard:
openclaw dashboardWhat you want to verify here:
- The Gateway is running without crash-looping.
- The dashboard opens locally in your browser.
- You can send a basic test message and get a response.
If the dashboard opens but the first message fails, check the provider credential and onboarding choices before blaming the install itself.
Step 5: Operate it safely day to day
A local install is strongest when it stays local by default. If you want to use OpenClaw from another machine, prefer a deliberate private access pattern such as SSH port forwarding, a tailnet, or another private network path you already trust.
Useful day-two checks:
openclaw gateway status
openclaw dashboard
If you later decide to run OpenClaw on a server, treat that as a different operating model with different risks. The published VPS guide is the better next step for that path.
Rollback and update notes
If you installed with the hosted flow and want to move between channels later, the install docs note the supported update path:
openclaw update --channel stable
openclaw update --channel dev
For a first local install, do not jump channels casually. Stay on one channel until you have a reason to change it and a quick way to verify the result after the update.
Troubleshooting
The installer finishes but openclaw is not found.
Open a fresh shell and check whether your PATH updated correctly for the installed prefix.
Onboarding starts but the model never answers.
Re-check the provider credential and rerun openclaw configure or onboarding instead of reinstalling immediately.
The Gateway is not listening on the expected port.
Run openclaw gateway status again and inspect the daemon state before you touch firewall rules or browser settings.
The dashboard works locally and you want remote access.
Do not public-bind it as a shortcut. Use a private access method first, then revisit exposure only if you truly need it.