
Build and Deploy a Static Site with Hugo and Caddy on a VPS
Build a fast static site with Hugo, ship the generated files to a VPS, and let Caddy serve the site with automatic HTTPS instead of turning every edit into a risky production shell adventure.
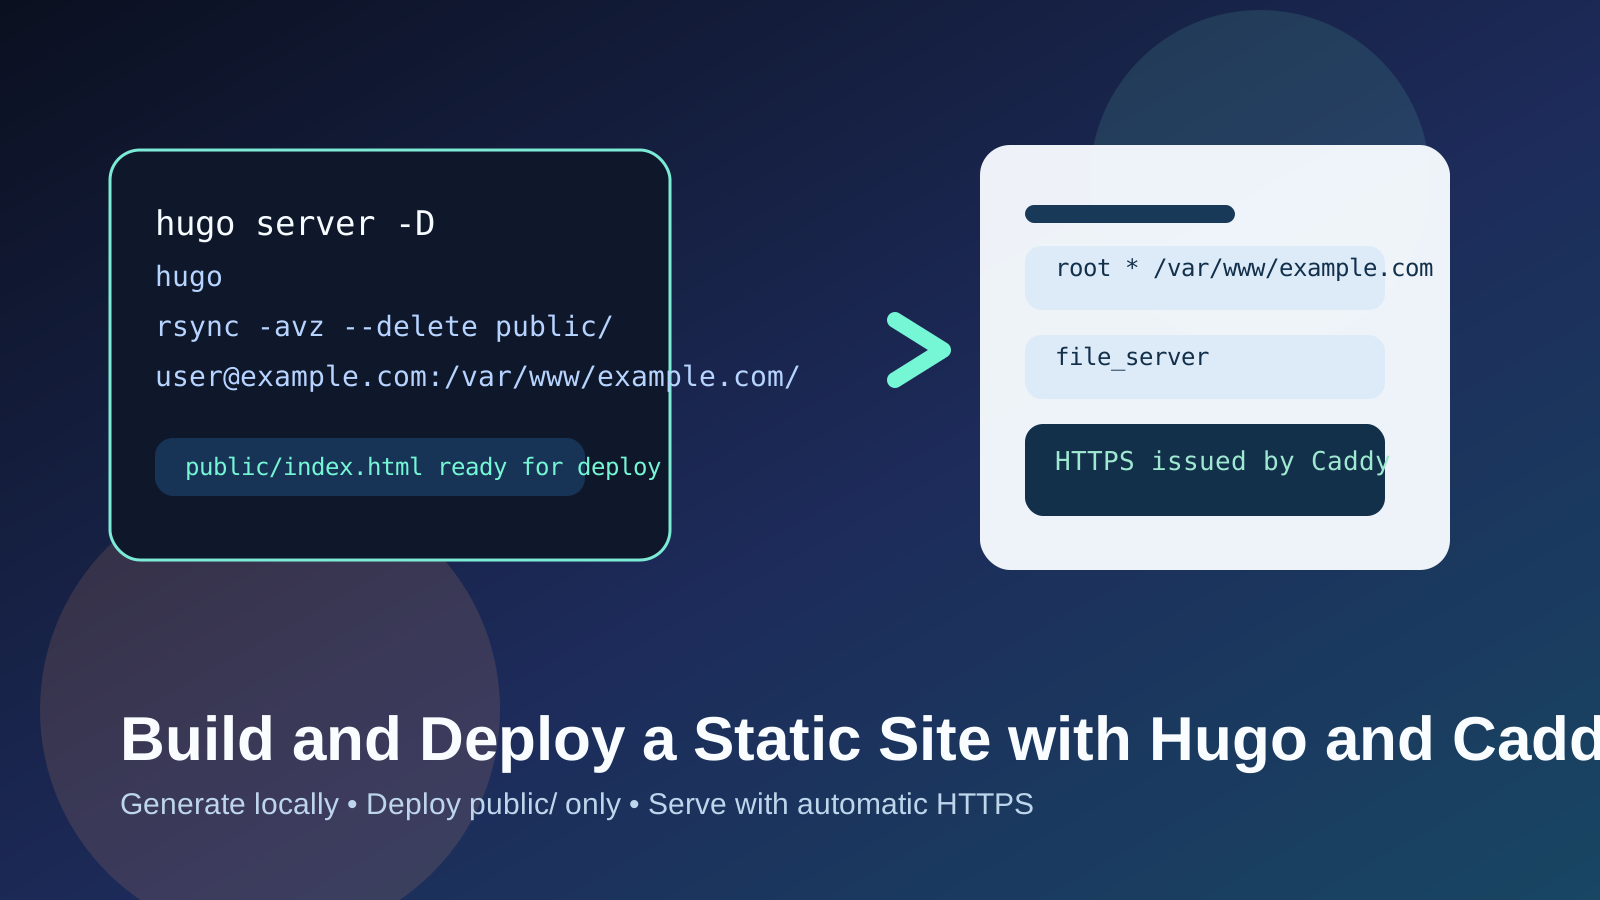
How to install Hugo, generate a site, copy the public build to a VPS, point Caddy at the right directory, and verify HTTPS cleanly.
Small brochure sites, docs portals, personal projects, and landing pages where a database and app runtime would be needless baggage.
The common failure mode is editing generated files directly on the server and slowly losing track of what is source and what is build output.
Before you begin
- A VPS you can reach over SSH.
- A domain or subdomain already pointed at the VPS public IP.
- Docker is optional here. This guide uses Hugo as a build tool and Caddy as the web server directly on the host.
- A local workstation where you can edit files and run Hugo.
Hugo's official Linux docs still recommend the standard edition unless you specifically need extra features, and on Debian or Ubuntu the simplest
package path is sudo apt install hugo. Caddy's static-file quick start is intentionally minimal: point a site block at the right root
directory and turn on file_server.
/var/www/example.com,
served by Caddy over HTTPS with a repeatable deployment routine.
Step 1: Install Hugo and create a site
On a Debian or Ubuntu workstation or build box, install Hugo:
sudo apt update
sudo apt install -y hugo
Create a new project:
hugo new site mysite
cd mysite
Hugo separates source content from generated output. That distinction is the whole point of this workflow. You edit content and templates in the
project. You deploy only the compiled files from public/.
If you want a theme, add it now using the theme's own install instructions before you start writing content.
Step 2: Build and preview locally
Add a first page or post, then preview the site locally:
hugo new content content/posts/hello-world.md
hugo server -D
Once the local preview looks right, generate the deployable output:
hugo
The generated files should now exist in public/. That is the directory you deploy. Do not point Caddy at the Hugo project root.
Step 3: Prepare the VPS and site directory
On the VPS, create a dedicated web root:
sudo mkdir -p /var/www/example.com
sudo chown -R $USER:$USER /var/www/example.com
Install Caddy if it is not already present. The exact package path depends on your distro and how current you want the binary to be, but once Caddy is installed you only need a site root and a small Caddyfile.
Before you touch Caddy, confirm DNS already points at the VPS. Automatic HTTPS only works cleanly when the hostname resolves to the machine that is requesting the certificate.
Step 4: Deploy the generated files
From the Hugo project directory on your workstation, copy only the built output:
rsync -avz --delete public/ user@example.com:/var/www/example.com/
The trailing slash matters. It syncs the contents of public/ into the site root instead of nesting one extra public
directory.
Verify the files landed where you expect on the VPS:
ssh user@example.com
find /var/www/example.com -maxdepth 2 -type f | head
If your build includes an index.html at the root of public/, you are in good shape for a first deploy.
Step 5: Configure Caddy and HTTPS
Create or update a Caddyfile entry on the VPS:
example.com {
  root * /var/www/example.com
  file_server
}
This follows Caddy's static-files pattern: set the site label, point root at the deployed directory, and enable
file_server.
Validate and reload Caddy:
sudo caddy validate --config /etc/caddy/Caddyfile
sudo systemctl reload caddy
Then test in a browser or with curl:
curl -I https://example.comOn the first reload, Caddy may need a moment to finish certificate issuance. A short delay is normal. A long delay usually means DNS, firewall, or port 80/443 reachability is wrong.
Update and rollback notes
The clean update loop is: edit source, run hugo, sync public/, then reload Caddy only if configuration changed.
Ordinary content-only updates do not require a Caddy reload.
A simple rollback pattern is to keep timestamped deploy directories and switch a symlink:
/var/www/releases/2026-07-11-1600
/var/www/releases/2026-07-12-0915
/var/www/example.com -> /var/www/releases/2026-07-12-0915
That is optional for a tiny site, but it becomes valuable once production updates matter.
Troubleshooting
The site works locally with hugo server but not on the VPS.
Check that you deployed the generated public/ files rather than the project source tree.
Caddy serves a directory listing or 404 instead of the homepage.
Confirm the root directory contains index.html at the top level and that the root path in the Caddyfile is correct.
HTTPS is not issuing.
Verify the domain resolves to the VPS and that inbound ports 80 and 443 are reachable from the public internet.
New deploys leave stale files behind.
Use rsync --delete so removed pages disappear from the server instead of lingering forever.